Reliable outdoor lighting depends on more than placing a solar panel above an LED lamp. You need to match the panel, battery, controls, optics, pole layout, and weather protection to the site’s lighting demand and seasonal solar resource. By the end, you will know how to evaluate autonomy, lighting performance, installation conditions, and supplier claims before approving a system.
Key takeaways
- Size the battery for overnight demand plus cloudy-day autonomy.
- Match LED optics to road width, mounting height, and required lighting levels.
- Check shading, drainage, battery temperature, and corrosion before installation.
- Verify measured illumination, controller settings, and warranty documents after commissioning.
How solar energy becomes light after sunset
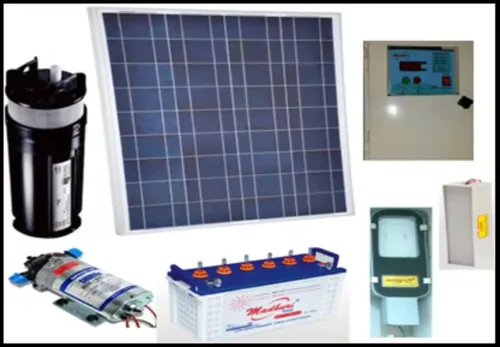
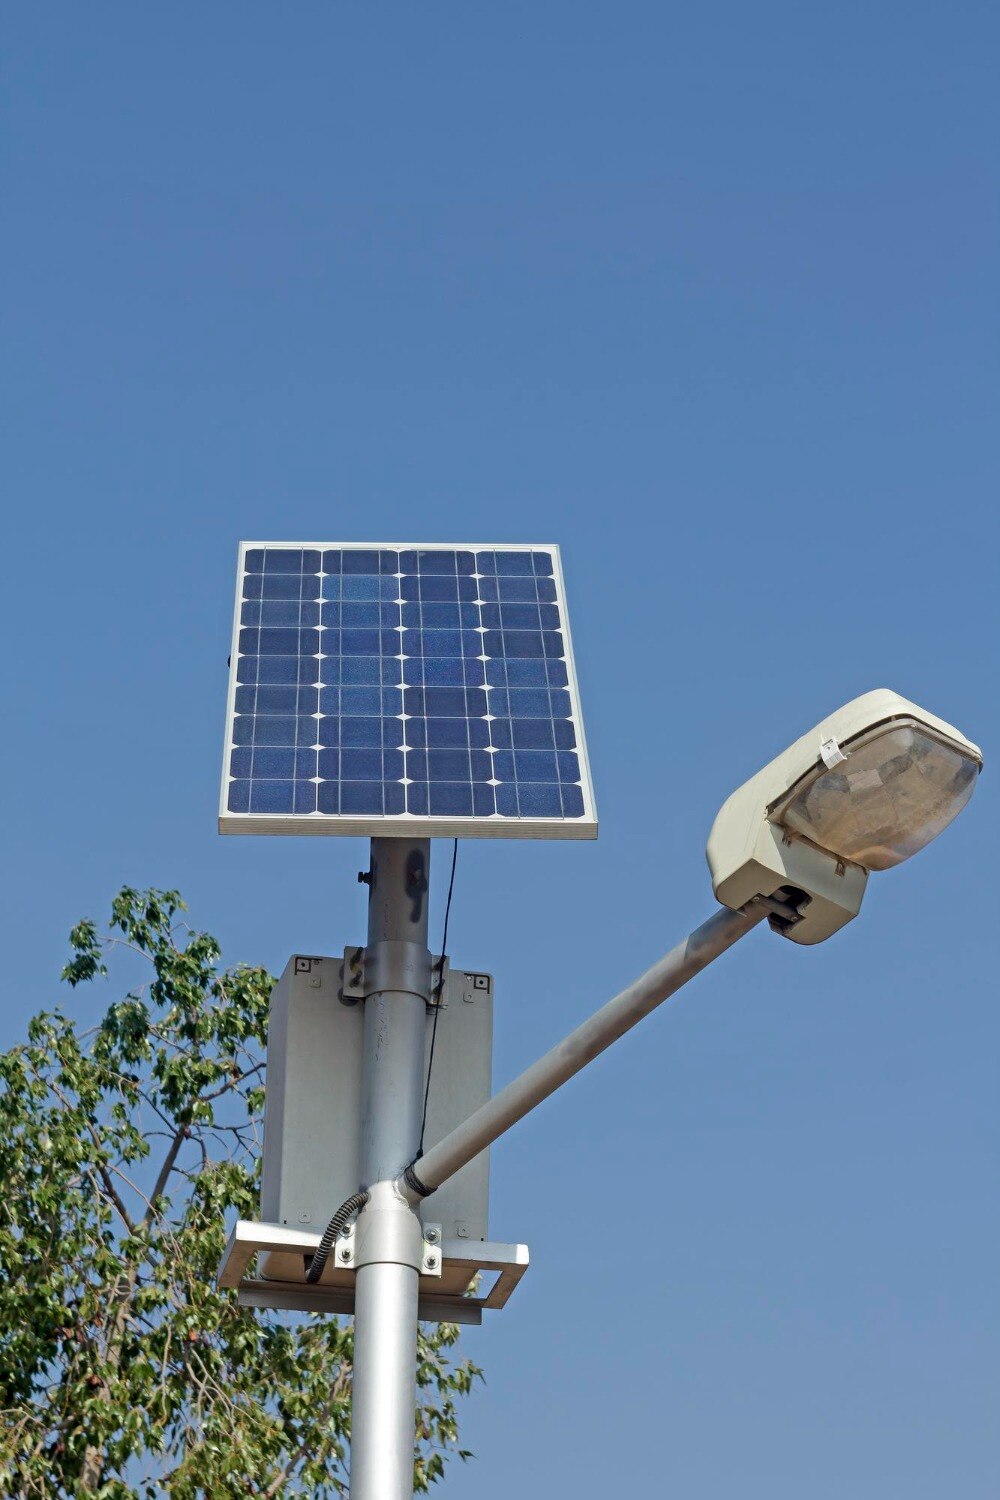
The photovoltaic panel converts sunlight into direct current during the day. An MPPT charge controller tracks the panel’s best operating point, then regulates charging so the battery receives usable energy without overcharging. The controller also limits current when the battery reaches its full-voltage threshold.
After sunset, a light sensor in the system control unit detects falling illumination and starts the programmed lighting schedule. The battery then supplies stored direct current through the wiring to the LED luminaire, while the driver/power supply unit (PSU) module regulates current and voltage for the LEDs.
The luminaire’s optics direct that light onto the road rather than wasting it above or beside the carriageway.
The control system can run from dusk to dawn, follow a timer, dim during low-traffic hours, or increase output when a motion sensor detects activity. If battery voltage drops too far after cloudy days, protection settings reduce output or disconnect the load; the lamp cannot provide unlimited nights after weak charging.
For added monitoring, an LED luminaire and driver/power supply unit (PSU) module can operate with a system control unit (SCU). A third-party remote monitoring module communicates with remote monitoring software and sends:
Battery voltage and state of charge Charging current and panel energy Lamp status, operating hours, dimming level, and fault alarms
This data reveals a failed charge cycle or shortened runtime before a nighttime inspection does.
How to size the panel and battery for cloudy periods
A reliable design uses the weakest relevant month, not annual average sunlight. Calculate nighttime demand first, then test whether the panel can replace that energy during seasonal rain and whether the battery can cover consecutive overcast nights.
1. Multiply LED load by operating time. A 30-watt luminaire running 12 hours needs 360 watt-hours (Wh) per night; include sensor settings, dimming, wiring, and controller losses.
2. Estimate monthly generation as panel wattage × daily sunlight × charge efficiency, then subtract controller losses and apply temperature derating, dirt allowance, and module degradation. Use the site’s month-by-month solar resource, with the Maharashtra monsoon treated as a critical period rather than relying on an annual average.
3. Size storage from the load and required battery autonomy. At 12 volts, a 1,200-Wh battery has a nominal capacity of 100 ampere-hours (Ah), but usable battery energy is lower: multiply nominal Wh by permitted depth of discharge (DoD), discharge efficiency, temperature derating, end-of-life capacity, and the reserve retained above the low-voltage cut-off.
Include an aging reserve.
4. Simulate several cloudy nights followed by recovery nights. Extended weak sunlight can leave a battery partly charged even when the first night succeeds; require enough later generation to restore it before the next overcast period. Specify the minimum temperature, nightly hours, dimming schedule, end-of-life capacity, and recovery nights behind any “three-night” autonomy claim.
A supplier should show the calculation for battery capacity in watt-hours and ampere-hours (Ah) at a stated voltage, plus the panel wattage and every efficiency assumption. A nominal 1 kWh battery is not 1 kWh of dependable lighting.
How controls and optics determine useful road lighting
Operating schedules determine both useful brightness and battery demand. Dusk-to-dawn operation keeps the LED on throughout the night, while a timer can set defined hours or lower output after peak activity. A photocell starts the system at measured darkness, avoiding wasted energy during cloudy afternoons.
Adaptive dimming based on traffic and pedestrian activity saves energy by reducing output during quiet periods, but the schedule must preserve the specified minimum light level at crossings, junctions, and security-sensitive areas.
Set a low-light fallback schedule when a sensor or communication link fails, with a defined fallback output level so the luminaire does not remain dark or fully bright all night.
PIR and radar sensors are not interchangeable:
| Sensor | Detection range and weather performance | Best use |
|---|---|---|
| PIR | Detects heat movement over a shorter, defined zone; performance can decline with rain, wind-blown vegetation, or temperature contrast | Low-cost paths and areas with predictable movement |
| Radar | Covers a wider zone and detects movement through darkness; rain can affect results, but radar is the better option if it is reliable in rainy conditions | Roads requiring dependable vehicle and pedestrian detection |
Optics decide whether LED output reaches the road rather than nearby property or the sky. Require photometric calculations covering mounting height, spacing, beam distribution, glare, and nighttime uniformity; EN 13201 frames lighting as a performance design, not a fixture-lumen claim.
An optional remote monitoring module can report sensor faults and help control schedules through central management system software. During acceptance, measure installed photometry after aiming and commissioning, then record the actual dimming schedule.
How site conditions, batteries, and weather affect reliability
A panel that receives tree and building shadows for part of the day can lose substantial charging energy, even when the site looks sunny. Perform a shade analysis across seasonal sun paths, then verify panel orientation and tilt, nearby structures, pole shadowing, and the controller’s maximum-power-point tracking range.
Road geometry also determines reliability because poor spacing creates dark areas that demand higher output. Consider road width and pole spacing together; on a two-lane road, poles are often placed on one side or both sides depending on the required lighting class and pole spacing.
Ask a lighting designer to verify maintained illuminance or luminance, uniformity, glare, and the applicable roadway criteria rather than selecting a larger LED by wattage alone.
Battery choice changes service life and cold-weather performance:
| Battery type | Strength | Reliability concern |
|---|---|---|
| LiFePO4 | Longer cycle life and greater usable depth of discharge | Requires a battery-management system; charging below its permitted temperature can cause lithium plating |
| Lead-acid | Simpler control and established availability | Lower usable capacity and cycle life; heat and deep discharge accelerate ageing |
Rain and overcast periods require the stated autonomy to include end-of-life battery capacity, nightly hours, dimming schedule, allowable depth of discharge, minimum design temperature, and recovery nights. In cold climates, require validated low-temperature charging behaviour, battery heating, or thermal protection.
Protect the battery enclosure from flooding and excessive heat; inspect seals and ventilation throughout its service life.
How to compare suppliers and verify the installed result
Require the supplier to state EN 13201, the applicable roadway lighting criteria, and maintained illuminance in lux or maintained luminance, with uniformity, glare, and threshold increment. Specify beam distribution, pole height, spacing, colour temperature, lumens, dimming schedule, adaptive lighting, and energy-performance indicators; watts alone do not prove safe lighting.
| Specification item | Require on paper | Verify at site |
|---|---|---|
| System format | All-in-one luminaire or split system, battery chemistry, service access, and end-of-life capacity | Match installed parts and inspect replacement access |
| Safety | IEC 60598-1, IEC 60598-2-3, IP rating, IK rating, and surge protection | Check declarations, labels, enclosure seals, earthing, and protection devices |
| Solar hardware | Photovoltaic-module standards, controller limits, battery temperature range, and autonomy assumptions | Confirm model numbers and controller settings |
| Geometry | Beam distribution, pole height, spacing, aiming, and design calculation | Measure locations, tilt, shadows, and aiming |
| Energy claim | Nightly hours, dimming schedule, allowable depth of discharge, minimum temperature, and consecutive overcast nights | Review logged operation and battery state |
Use an acceptance test after commissioning, not a daytime switch-on demonstration. Require installed photometry at night, recorded uniformity and glare results, controller and battery protection checks, and confirmation that pole shadowing does not create dark patches. Test autonomy against the stated end-of-life capacity, not a new battery.
Madhuri Solar can be compared fairly only when its submission uses these same measurable criteria rather than headline lumens. Reject any offer that omits recovery nights, because “three-night autonomy” has no meaning without them.
Related product
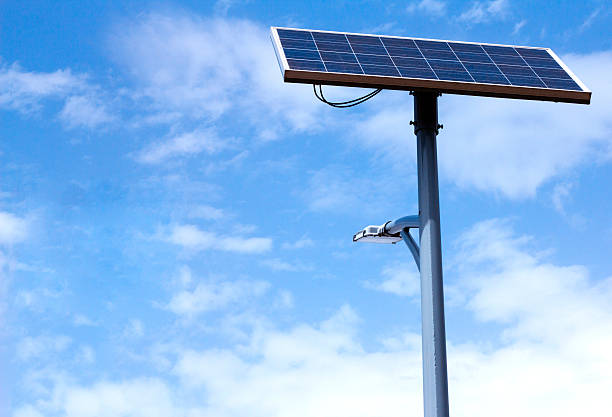 | Streetlight System ₹150000 The Solar Streetlight System offers an eco-friendly and cost-effective lighting solution, powered by solar energy. View product → |
Frequently asked questions
How does a solar streetlight produce light after sunset?
The photovoltaic panel charges a battery during daylight through a charge controller. After sunset, the controller supplies stored DC electricity to the LED luminaire.
How do you size a solar streetlight panel and battery for cloudy periods?
Calculate nightly watt-hours, divide by usable battery capacity, and add autonomy for the number of cloudy nights the site requires. Size the panel to replace that energy during the available solar hours.
What determines whether a solar streetlight properly lights a road?
LED wattage alone is not enough. Check the luminaire’s optical distribution, mounting height, pole spacing, road width, tilt angle, and measured illuminance at the required points.
Which site conditions affect solar streetlight reliability?
Inspect shading, panel orientation, drainage, dust, coastal or industrial corrosion, high temperatures, and access for cleaning and battery replacement.
How can you compare solar streetlight suppliers and verify installation quality?
Compare complete system specifications, test reports, warranties, replacement terms, and service response. After installation, verify pole placement, charging settings, night operation, and measured illumination.